
Crystal Lake Epoxy Flooring has installed epoxy garage floor systems in Crystal Lake, IL for more than 20 years, serving surrounding cities including Lakewood, Lake in the Hills, Cary, Algonquin and Fox River Grove. Our garage floors start with a diamond-ground slab and a moisture test, and they finish with a broadcast and topcoat chosen for the way a McHenry County garage actually gets used.
A garage floor here takes more punishment than most rooms in the house. It sees slush loaded with brine from November to March, hot tires straight off summer pavement, dripped oil, dropped tools and floor jacks. The coating that survives all of that is not the one that looked best on the showroom sample. It is the one that bonded properly to clean, open concrete and was built thick enough to take the wear.
Every quote we write names the products, the layers and the finished thickness, and it is priced per square foot for your garage, not from a national average. If your slab needs repair before it can be coated, or if your garage is too cold to coat until spring, you will hear that before you sign.
What Goes Into a Garage Floor System
Grinding the Slab to a Measured Profile
We grind the garage slab with walk-behind diamond grinders hooked to dust collection, taking off the smooth trowel finish, curing compounds, old sealers and any paint. The goal is a measured ICRI concrete surface profile, usually in the CSP 2 to 3 range for a broadcast garage system, which gives the primer something to grip.
Edges and corners get the same treatment with hand grinders, because a coating that bonds everywhere except the last few inches along the walls will start lifting right there. Acid etching is not part of our process. It leaves residue in the pores, and its results vary from one end of a garage to the other.
Base Coat and Vinyl Flake Broadcast
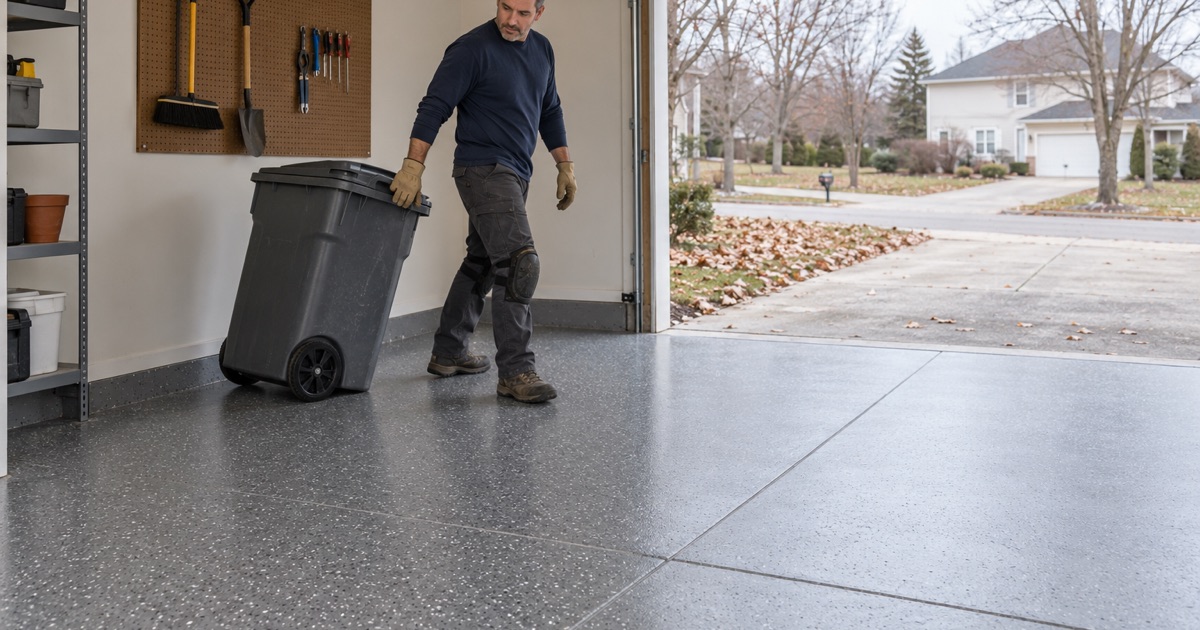
Once the slab is clean and repaired, a primer goes down, followed by a pigmented base coat, usually a 100% solids epoxy or a polyaspartic. While the base is wet, we broadcast vinyl flake by hand until the surface will not take any more, which is called broadcasting to rejection.
The loose flake is scraped and vacuumed off once the base cures, leaving a uniform layer locked into the coating. That full broadcast does three jobs at once: it adds texture underfoot, it adds thickness, and it hides the minor blemishes every older garage slab has.
Choosing the Topcoat
The topcoat is the layer your tires, boots and tools actually touch. We use clear polyaspartic or polyurea topcoats on most garage floors because they resist abrasion and chemicals, cure quickly and do not amber in the sun that comes through an open door.
You choose the sheen and the texture. A satin topcoat hides tire marks and dust better than high gloss, and a fine slip-resistant additive can be mixed into the topcoat for floors that see a lot of wet slush.
Garage Slabs and Moisture
Why Many Garage Slabs Have No Vapor Retarder
The residential code generally calls for a vapor retarder under a slab, but IRC R506.2.3 exempts garages and other unheated spaces. So many garage slabs sit directly on the base material with nothing to slow moisture coming up from the ground below.
That moisture moves up through the concrete and tries to escape at the surface. A tight coating on top traps it, and over time the pressure can push the coating off in blisters. In a town built on sand and gravel, with a water table that sits shallow near the lake and creeks, this is a real risk rather than a theoretical one.
Testing Before the Primer Goes Down
Moisture testing is part of every garage scope we write. We start with an ASTM D4263 plastic sheet test as a quick screen and move to ASTM F1869 calcium chloride or ASTM F2170 relative humidity probes when a slab needs real numbers.
If the results are high, a moisture-mitigation primer can let the system go down safely within the limits the manufacturer states. If they are beyond what any primer is rated for, we say so, and we would rather lose the job than install a garage floor we expect to blister.
Built for McHenry County Winters
Salt Brine, Grit and Hot Tires
Calcium chloride brine and rock salt keep bare concrete wet and salty all winter, which drives scaling and spalling at the surface. A sealed garage floor keeps that brine on top, where it can be squeegeed out, instead of letting it soak into the slab and freeze inside it.
In summer the threat changes. Hot tire pickup happens when a warm tire softens a thin coating and peels it away as the tire cools. A ground slab, a properly built base and a fully cured topcoat are what prevent it, which is why we do not cut corners on any of the three.
Coating a Cold Garage
Coatings cure by chemical reaction, and cold slows that reaction to a crawl. We measure the slab temperature, not just the air, and check the dew point spread at the surface, because a coating laid on a slab near dew point can develop amine blush, a greasy film that weakens the next layer.
For an unheated garage that often means the job waits for spring. We would rather put you on the April schedule than install a floor in February that never reaches its full hardness.
Drains, Door Edges and Expansion Joints
Garage floors have details that a basement floor does not. The apron edge at the overhead door takes slush and impact, so we feather the coating carefully there and make sure water still sheds outward.
Trench drains and floor drains stay open and working, and the isolation joint where the garage slab meets the foundation is left to move. Coating straight across a joint that is meant to flex is how a neat floor ends up with a crack line along the wall.
Our Step-by-Step Epoxy Garage Floor Process
Step 1: Inspection and Written Proposal
We walk the slab, note cracks, joints, old coatings and drains, and run the first moisture screen. The written proposal lists the products, the layers, the finished thickness, the moisture results and the exclusions in the warranty, with moisture named first.
Step 2: Grinding and Repairs
The floor is ground wall to wall with dust collection. Cracks are filled with a semi-rigid polyurea, spalls and pits are patched, and the slab is vacuumed until nothing loose remains.
Step 3: Primer, Base Coat and Flake
The primer and base coat go down within the temperature and dew point window the products require, and the flake is broadcast to rejection while the base is still wet.
Step 4: Topcoat and Cure
After the excess flake is removed, the clear topcoat is applied. We walk you through the cure times, the care routine and the warranty before you move the car back in.
- 20+ Years on Local Concrete
- Moisture Testing in Every Scope
- Written Per-Square-Foot Quotes